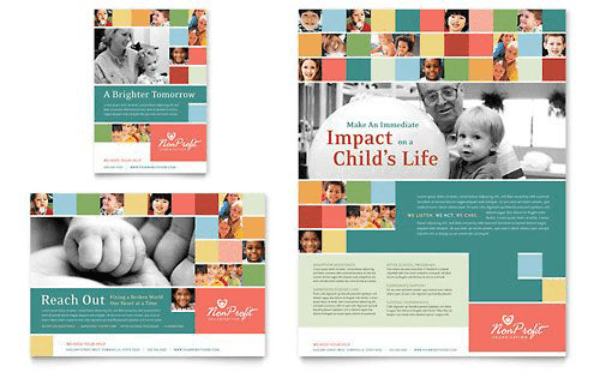
If you work for a nonprofit then you have definitely felt the need to make a flyer for an upcoming event like a fundraiser, a beach cleanup, an annual function or a clothing drive. Nonprofits have continuous events happening all year long and the need for flyer making is constant. Now you can either contact a third party for your needs or you can simply learn to do the task yourself and not only save a lot of money but also ensure that the design is exactly according to your needs. You will need some practice but after a while, you will be designing your flyers with ease and creativity. This will ensure that the message that you want to convey is intact and is perceived the way you want everyone to perceive it.
In this article, we will show you the basics of using Adobe Photoshop to make a flyer for your nonprofit organization.
 WHAT IS A PICTURE/PHOTO/IMAGE
Pictures are composed of tiny little dots that are called “Pixels”. The more pixels a picture has, the better its resolution. If the number of pixels is less, there is a chance that the picture will break up and not give the desired result. These pictures can be easily edited in Adobe Photoshop according to your needs and requirements.
THE PROCESS
In Adobe Photoshop, we work with pixel-based images. These images could be digital photos or they could be images scanned from different sources. Photoshop is a very advanced tool for editing images but you can easily use it to design a logo and design your flyers easily and comfortably. Just remember that the general rule is “300 pixels per inch”. This rule is generally for print media. So if you have an 8 ½ x 11-inch flyer this will mean that you need a document that has 2550 x 3300 pixels. That is a lot of pixels and the document will be taking a lot of processing power and space on your computer.
- Open Adobe Photoshop and Choose File > New to open a new document.
- Set the size of the document according to the size of the flyer. Let’s say, for example, 11 inches and 8.5 inches.
- Now you need a background image. We are assuming that you have already saved it in your computer so open the image location and drag the image icon onto your file to import it into your file.
- Once the image opens, you can easily resize it.
- Create a textbox and write your text in it. You can write multiple texts like this.
- Open the Window tab and select the Character option to set the font, size and other properties of the text.
- You can also drag other elements on your file just like you opened the image.
- Click on the Shapes Tool in the Tools panel to create different shapes.
- Arrange all the elements according to your desired flyer look. Voila! You have just created your very own flyer for your nonprofit organization.
Once you have created the basic flyer, you can play with other options to add different styles to it.
Now get out there and work for the betterment of the people.
AUTHOR BIO
Sarah Jay is a graphic design technology enthusiast. She writes for several international publications and Consults different tech organizations. She has mastered the art of making a cheap logo design for companies that are creative and push the boundaries of logo designing.


